Hi guys :)
As you know, I take part in exchanges on
www.cross-stitching.com/forum and this month I took part in an exchange called 'All that glitters'. The point of the exchange was to try new things, using threads, fabrics or techniques that you don't often use, and sent the gift to your exchange partner. I decided that I would stitch a biscornu and use beads. Now I have only ever made 1 biscornu before (which turned out ok...not great but ok!) and I have only ever used beads a handful of times, so I thought this was perfect.
So now I am going to go through a picture tutorial and try to make it as simple as possible!
The Tutorial
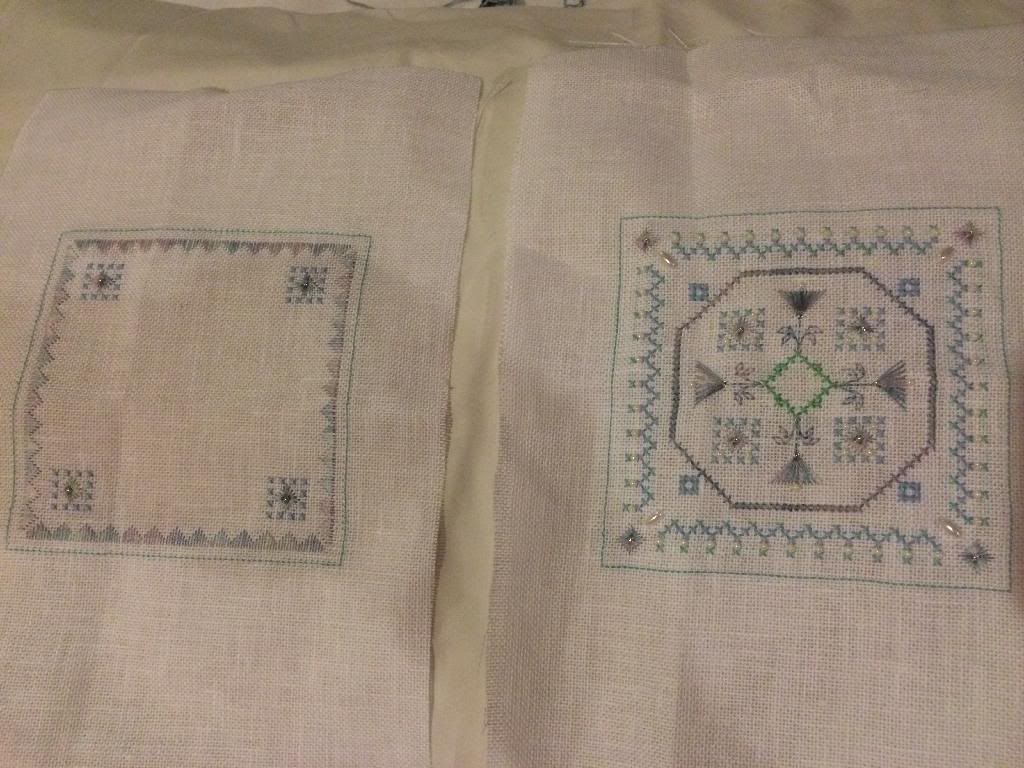
First you need to stitch your two designs. Remember that you need a front and back piece for this to work. It is in essence a small cushion!
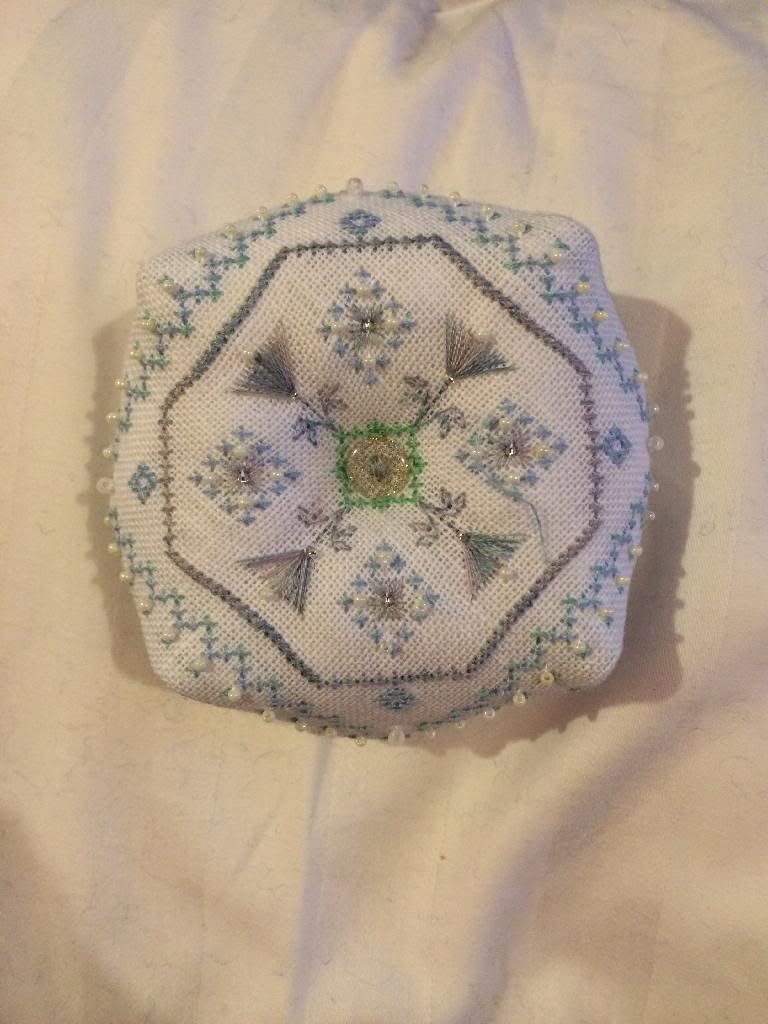
This is a polstitches design. I thought it was very sweet and since my partner didn't like green, I thought it would be perfect for her! (there is a tiny bit of green in the middle, but I am hoping she overlooks it!) The important thing about the design at this stage (particularly if you are adapting it from a pattern yourself) is that the outer edge should have a backstitched border running all the way around it. Each segment should have one stitch; it cannot be long stitch and you can't have your backstitch running over more than one block. These borders are used to put the biscornu together and are very important!
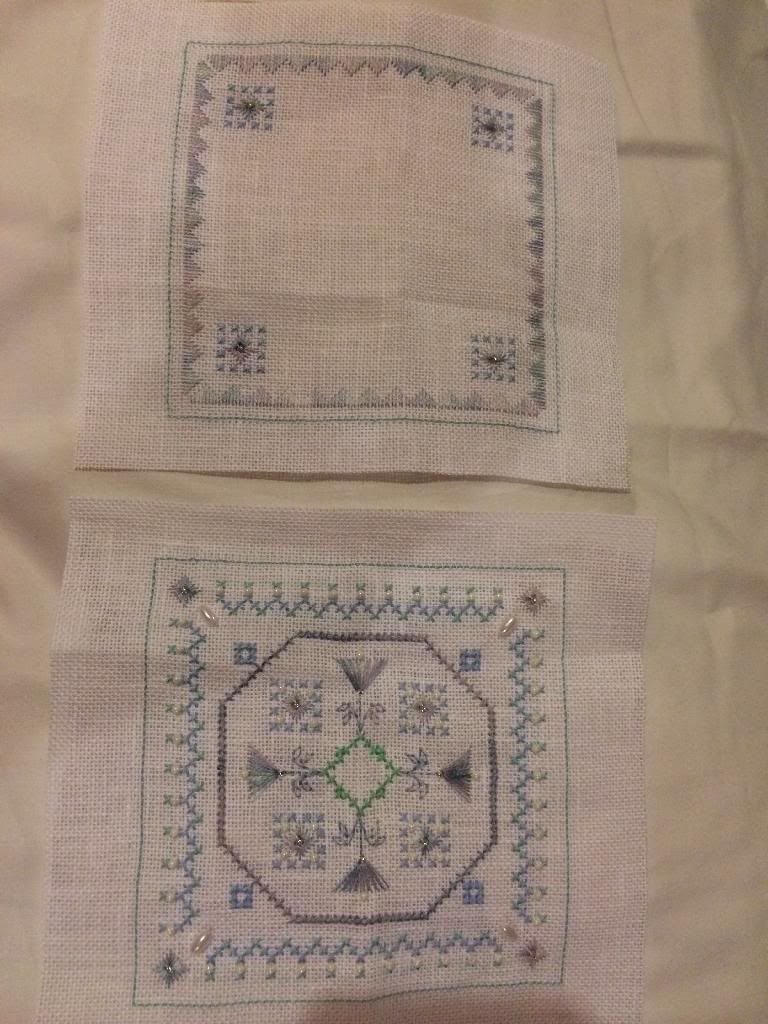
Next you need to trim your design.
You should cut your stitching to approximately 0.6cm. I have cut mine a little bigger here as I like to make sure that there is enough fabric as when you pull your stitching tight later on, it can cause big gaps in the fabric if it is too short (my experience with my first biscornu).
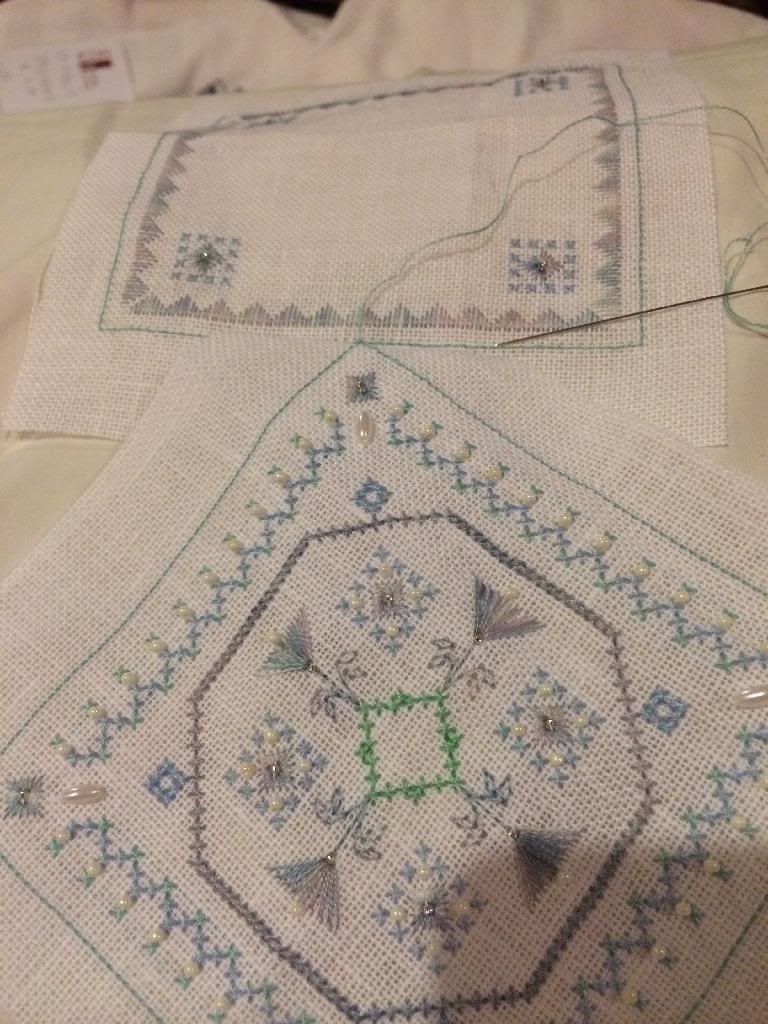
Next thing you need to do is find the centre of your backstitched border on one side. This is where you are going to start stitching and putting the biscornu together.
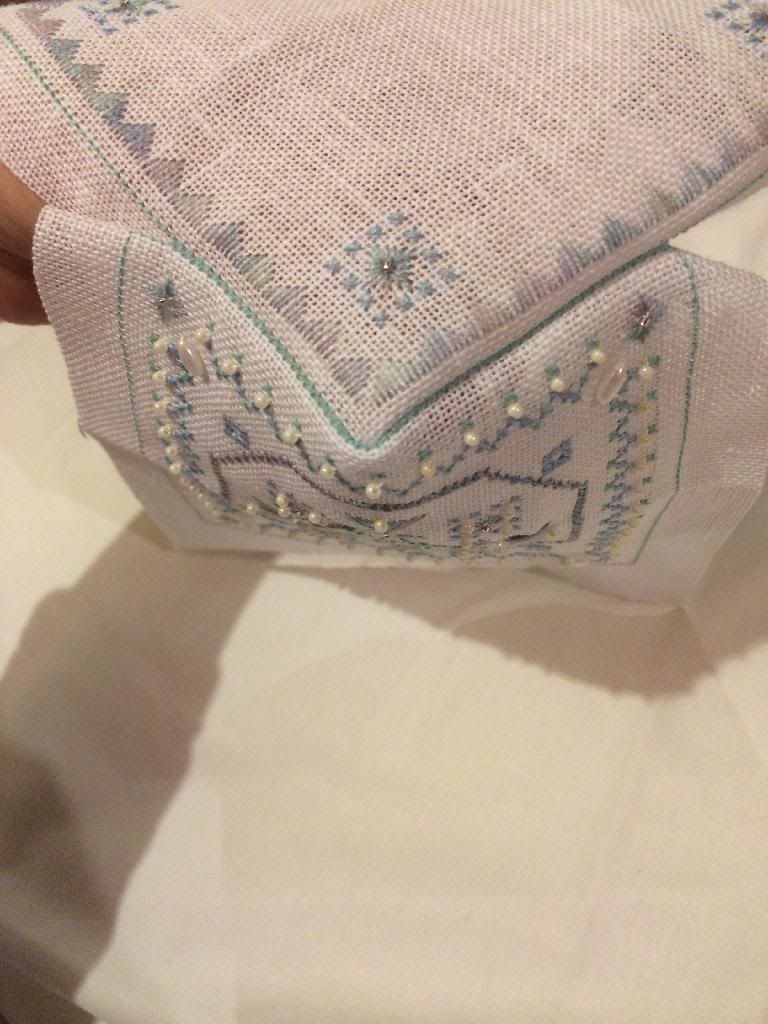
You find the centre of the border on one piece of stitching and then find the corner of a second piece of stitching as shown above. Now we are ready to put it together.
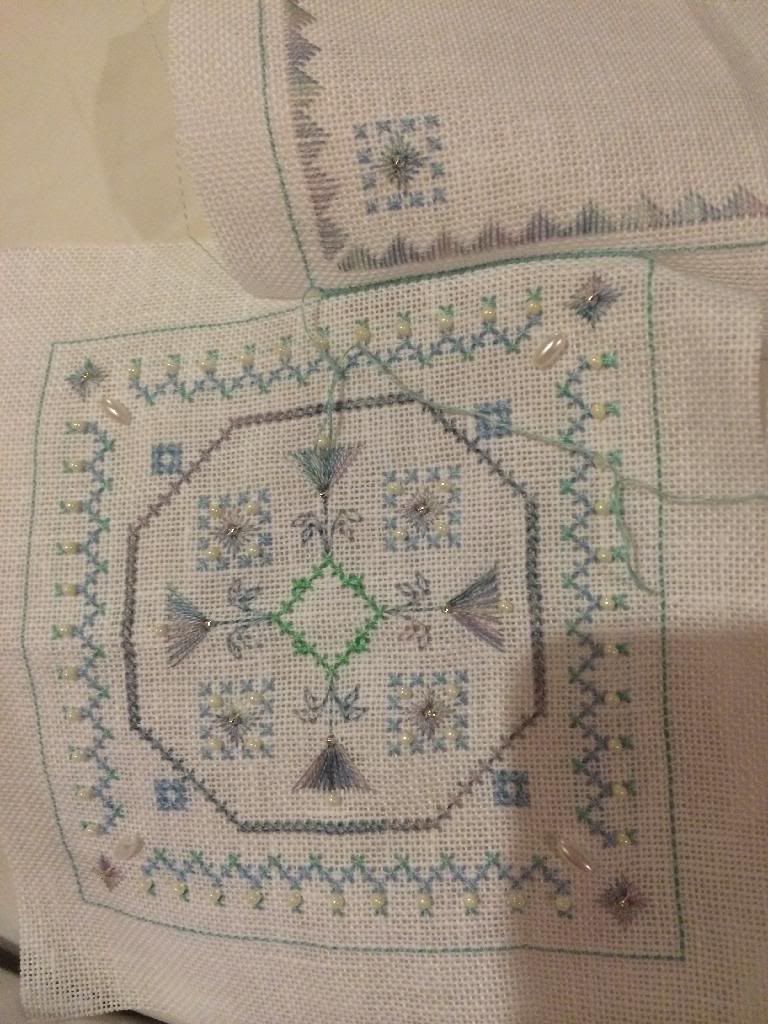
Secure your thread on the back of your work and bring the needle up at the corner point where you are going to be working. Now you simply pass your needle under the first backstitch to the left of the corner and then pass your needle under the middle stitch on the other piece. Make sure you do not go through the fabric; you are going under the thread only! This should bring the pieces together by one stitch.
You continue this method (whipstitch) all along the first side of the biscornu; going under a thread on your first piece of stitching and under a thread on your second piece of stitching.
When you get to the corner, continue in the same method, just ensuring that the extra fabric is tucked on (what will be) the inside of the biscornu. You can also add beads to the corner of the biscornu at this point or add them later (or not at all, like me!). You need to conitnue in this method all the way round and the sides will start to form.
Continue to stitch the sides and when you have completed the seventh side it is time to stuff it. I did have a picture of this but it has disappeared so you may have to use your imagination!
I fill my biscornu with white polyester toy filling (from sew and so) and used a lot of it to make it quite fat. I then finished sewing up the final side and secured the thread on the inside of the fabric.
The next step is to secure the buttons.
Secure a button to the front of the biscornu (pass the thread through the button a few times to make sure its secure.) Make sure you have long thread for this! Pass the needle through to the other side of the biscornu and attach a button there.
Once the other button is secure, pull the thread tight (so that there is an indentation in the centre of the biscornu) and pass the needle back through to the front of the biscornu. Do this a few time (to make sure that the indentation stays when you let the thread go) and then secure the thread on the inside of the biscornu. The shape should stay and you have a finished biscornu!
If you didn't add beads to the corner before, you can do so now (as you normally would) or you could attach a charm to it as well.
I hope this picture tutorial has been helpful and if you need help with anything, let me know. If there is anything that is unclear, let me know and I will fix it. Sorry one of the pictures didn't work out! I took it last night and it has simply disappeared. One of the wonders of technology!
Anyway hope you enjoyed this and try it yourselves.
See you next time and stay stitchy! :)

