Monday 15 July 2013

Exchange Gift Finished!

Well I finally finished my excahneg gift.  There were no rules on what you were to complete, it was just to be in the art nouveau style.  I decided not to put another row of roses at the bottom, which was my original plan, but I thought it looked better the way it was.  I was going to put it onto a canvas but I could not find one that was slim enough!  They really should make various sized canvas....not everyone wants it to be square!

So I went into the local shopping mall and I was looking for some ideas when I came across a recycled notebook.  I'd seen a few examples of notebooks in magazines but I had never attempted it to upcycle one.  However, I thought i'd give it a go.  Here is the result.


I frayed the edges of the aida, taking off roughly four blocks.  To do this simply put your needle into the first hole at the endge of the aida and slowly pull it out bit by bit.  Do one block at a time to ensure that the edges are equal and that you don't warp the fabric.  I got another piece of aida and stitched the word 'notes' in thick string.  I really wanted a chunkier look for the word, which is why I decided to use string.

I tried something new with this piece and that was having a bit of fun with the colours.  The green used to connect the roses was actually a green DMC mixed with a green light effect DMC.  It gave the green a bit of a shimmer which was an effect that I thought was nice for the project.

I hope you guys like it and I hope the recipient likes it!

Keep calm and cross stitch! :p

Thursday 11 July 2013

Gifts - The Stitchy Way

I don't know about you, but giving people gifts is something I love to do.  Whether it's a little surprise that they didn't expect, or something they have wanted for a long time, I just loving the act of giving and seeing people light up.  I especially love giving stitchy gifts.  I am going to put up a few pics of some of my previous gifts that I have lovingly stitched.  Everyone who I gave them to was so happy to receive them and it's an amazing feeling to see people appreciate your work.

If you have never made a stitchy gift for someone, then now is the time.  The possibilities are endless and you should pick something you are comfortable working with and just go for it.  For beginners, cards can be a quick gift that can be stitched in hours or days and can brighten up a birthday.  For the more experienced stitcher, you may want to make a canvas or a cushion.  Whatever it is, I am sure your friends and family will love it and be amazed at how creative you are.

Here are a few examples of things i've made for people.


This is a phone case that I stitched for my boyfriend.  He loves computer games (as do I!) and it seemed fitting!  He absolutely loved it.  This is something you can pick up from a variety of places.  A warning though: It only comes with three threads.  In the end I decided to use my own DMC threads to make the design.


This beautiful bookmark was a gift that I made for my boyfriends mum.  It was very challenging as there were a lot of colours and some new stitches I had never used before.  I even had to make the toggle at the bottom!  This is an excellent gift but may be better for experienced stitchers.  This came from a kit made by
Dimensions Gold.  It comes in a pack of two but I only ever made one.  I was really pleased how this turned out and I would do it again.


This is the final item I am going to show you.  This was made for my fathers fiance and was from a pattern that I was given as a gift.  I collected the threads myself and it took me quite a while to stitch.  The good thing is, all of the stitches were whole cross stitch!  No French knots, no back stitch...not even a fractional!  I eventually turned this into a framed picture and it hangs on the living room wall.

Well I hope this has given you some ideas of what you can create for your family and friends.

See you soon and stay stitchy! :)

French knots....the cross stitchers nightmare

Now I know the feeling.  You wake up in the middle of the night, screaming and sweating.  You've had another nightmare, and the thing that terrorises you....French Knots.  They chase you in the dream, threatening to come undone or worse, pull through the fabric. 

Now I know that this may sound absurd but there are so many people out there who struggle with French knots and I, myself, have been victim to them.  I learned to cross stitch when I was 8 or 9.  It was a club that the school ran once a week and I got into it.  Then, in primary 6, the teacher gave everyone in the class a cross stitch to do.  I was hooked.  I have been in and out of cross stitching for the next few years when finally, two years ago, I got back into cross stitching in a big way.  I loved it and I have been doing it ever since.

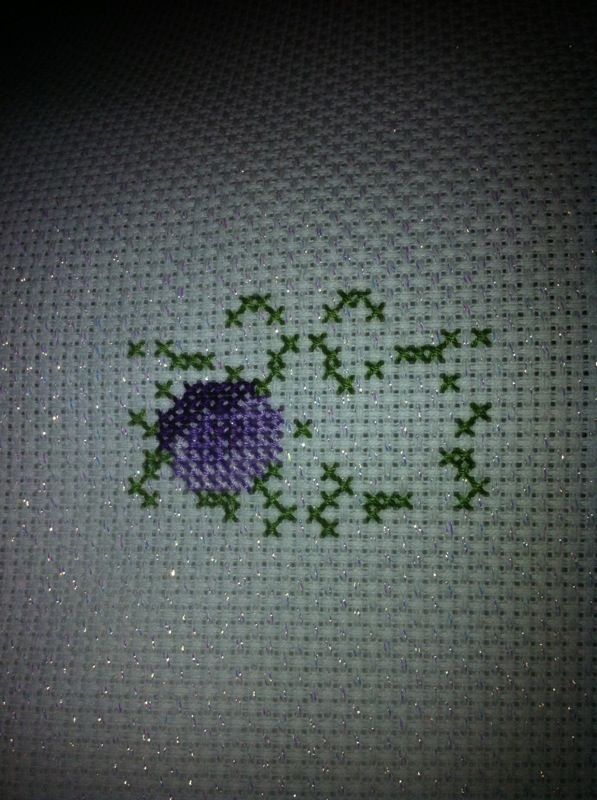
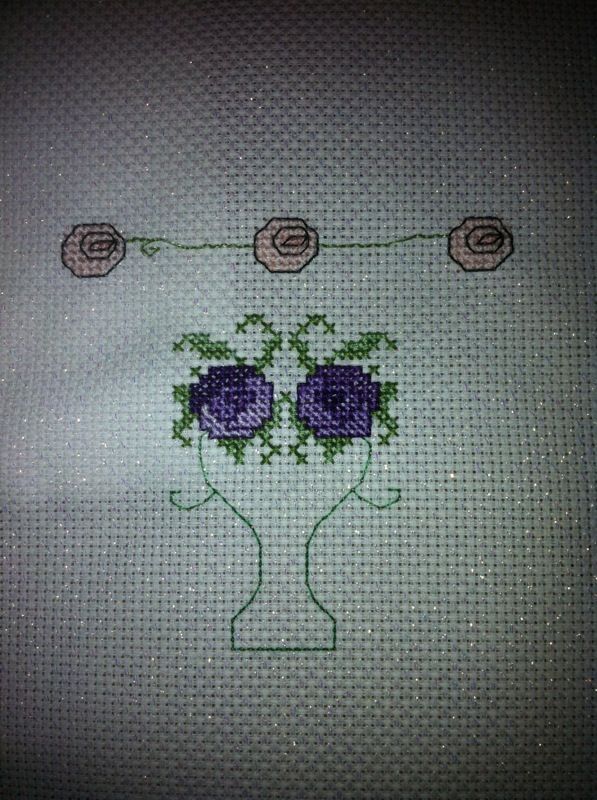
Everything in cross stitch is pretty simple.  Give me half cross stitches, fractionals or even backstitch and I will love it.  But the French knot is something that terrified me.  I have had so many projects with French knots and I had trouble.  My biggest issue is the knot pulling through the fabric and then creating a big mess at the back of the fabric.  A nightmare!

So here is a little picture tutorial on French knots with commentary to ensure your french knots don't turn into a nightmare as well!  If anyone would like me to do a video for this, then let me know and I will film and upload one.

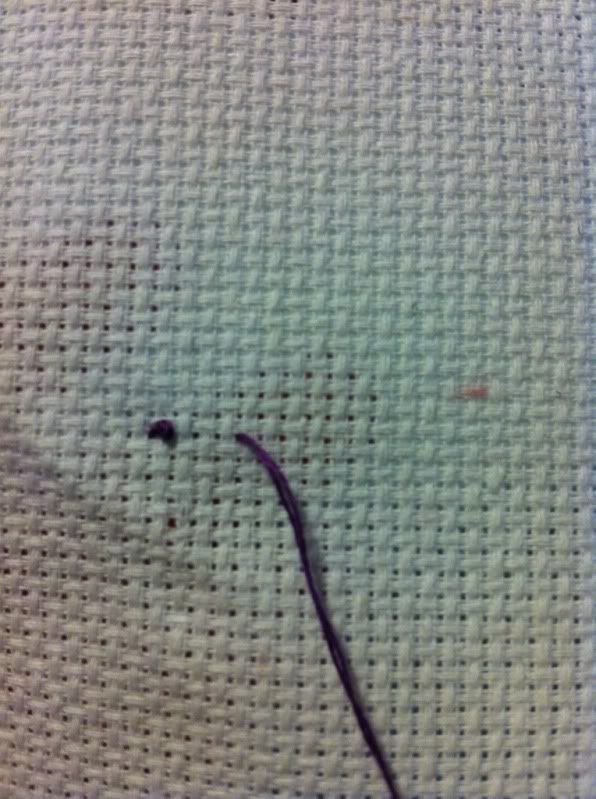
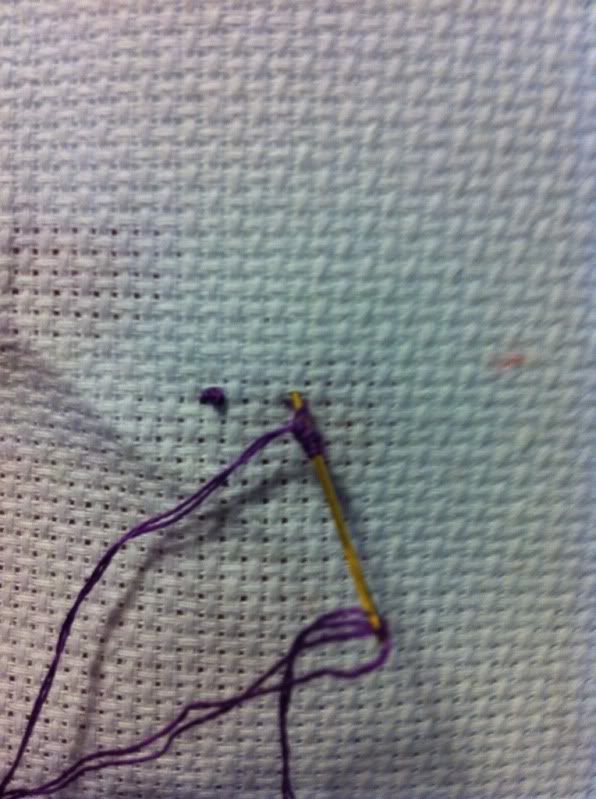
The first step is to bring the thread up through the hole where you are wanting the French knot to be.  In the picture below there is the French knot I made earlier as well as my thread for the new French knot.


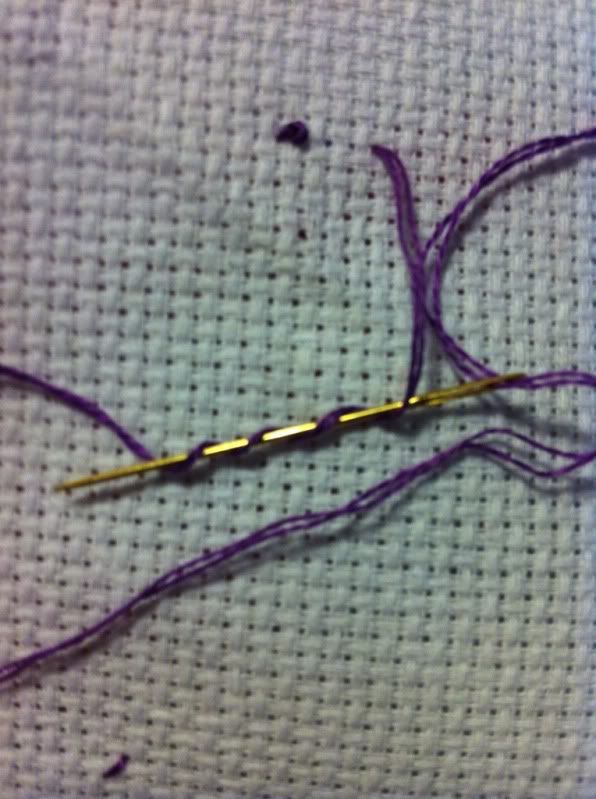
The next step is to wrap your thread around your needle a few times.  Now most places will tell you to do this three times.  I tend to do it four, just to ensure that the knot is big enough and that it does not pull through the fabric and create a mess.  This can be difficult to undo if you don't catch it in time, but you can decide how big you want your knot to be and go from there.


Now the next step is to push the needle through to the other side.  I tend to do this in the middle of a block to ensure the French knot takes!  When you first push the needle into the fabric, ensure that you hold onto the thread tight.  Not tight enough to snap it, but tight enough that it is held taught.


Now the picture above does not look taught but it was difficult to show on camera!

Now continue to hold the thread tight as you pull the thread through the fabric.


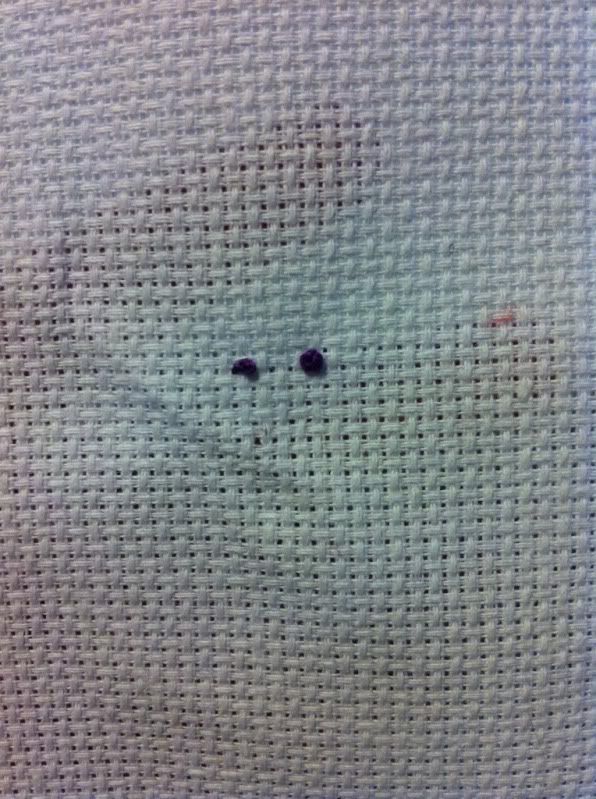
You should have a nicely formed French knot!  The knot on the left was made with the thread wrapped around the needle three times and the one on the right with the thread wrapped around four times.  Just to give you an idea of a change in size!

Hope this helps and turns your French knot nightmares into a dream!

Have a good day and stay stitchy!

Exchange gift nearly ready!

I have been working on my exchange gift for the last two days and the stitching is almost finished.  I am still not sure what to turn it into and it has to be sent tomorrow (yikes!)  I am thinking I might put it on to a canvas or even just frame it. 

It's an art nouveau exchange and I got the various patterns from a book and put them together.  I think the book is called 101 Cross Stitch Designs.  It has four pages on art nouveau so I just picked a few elements and went with that.  The exchange is run on the forum of www.cross-stitching.com so head over there if you want to take part in any exchanges.  The exchanges are excellent and they are really well organised.

Anyway I hope you guys like it and I hope the recipient likes it as well!


Here is the piece when it was first started.


Its almost finished now, as you may be able to tell.  I just have to add leaves to the stems and do another row or roses to the bottom. 

See you guys soon, and have a very stitchy day! :)

Tuesday 9 July 2013

Friend's Graduation

Sorry there have been no post rescently but I have been commuting from Glasgow to London every week and it has been crazy.  Haven't had much time for stitching!

But I thought i'd put this up as I have just recently finished a little card for my friend.


This is the owl card from my friend's graduation.  I was so happy with the finish and it only took me a couple of days.  My friend loved it!  I was so happy as I don't normally give my friends stitched pieces.

Anyway I am going to be doing a bit of a photo blog tomorrow with pics of finished pieces that i have rescently done.  Keep an eye out as there will be quite a few posts coming in the next week!