Now I know the feeling. You wake up in the middle of the night, screaming and sweating. You've had another nightmare, and the thing that terrorises you....French Knots. They chase you in the dream, threatening to come undone or worse, pull through the fabric.
Now I know that this may sound absurd but there are so many people out there who struggle with French knots and I, myself, have been victim to them. I learned to cross stitch when I was 8 or 9. It was a club that the school ran once a week and I got into it. Then, in primary 6, the teacher gave everyone in the class a cross stitch to do. I was hooked. I have been in and out of cross stitching for the next few years when finally, two years ago, I got back into cross stitching in a big way. I loved it and I have been doing it ever since.
Everything in cross stitch is pretty simple. Give me half cross stitches, fractionals or even backstitch and I will love it. But the French knot is something that terrified me. I have had so many projects with French knots and I had trouble. My biggest issue is the knot pulling through the fabric and then creating a big mess at the back of the fabric. A nightmare!
So here is a little picture tutorial on French knots with commentary to ensure your french knots don't turn into a nightmare as well! If anyone would like me to do a video for this, then let me know and I will film and upload one.
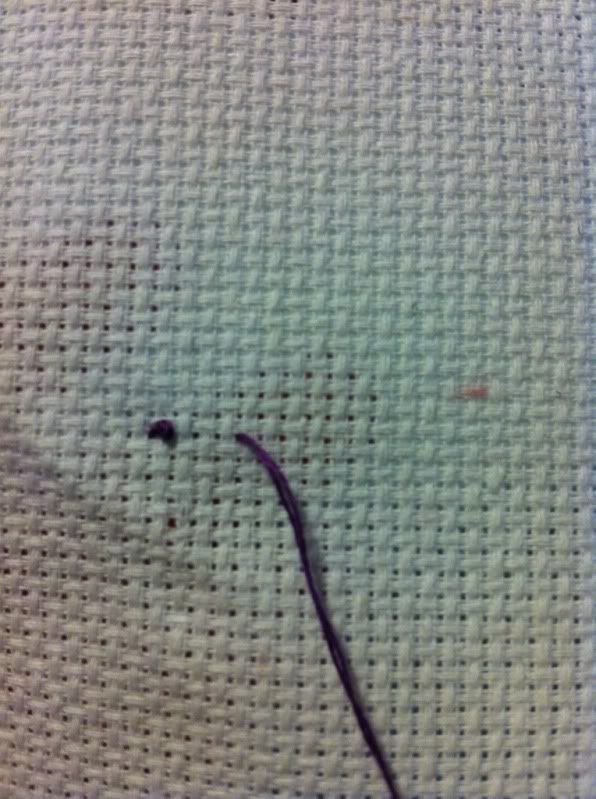
The first step is to bring the thread up through the hole where you are wanting the French knot to be. In the picture below there is the French knot I made earlier as well as my thread for the new French knot.
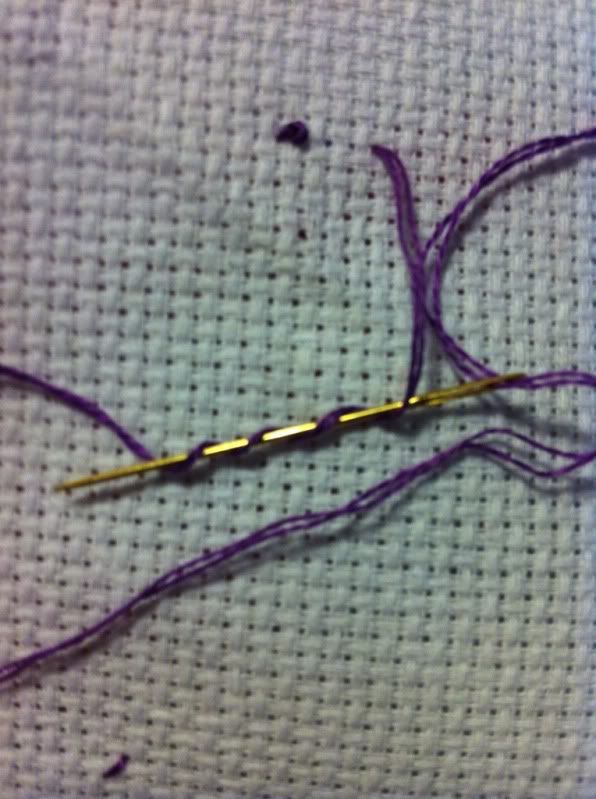
The next step is to wrap your thread around your needle a few times. Now most places will tell you to do this three times. I tend to do it four, just to ensure that the knot is big enough and that it does not pull through the fabric and create a mess. This can be difficult to undo if you don't catch it in time, but you can decide how big you want your knot to be and go from there.
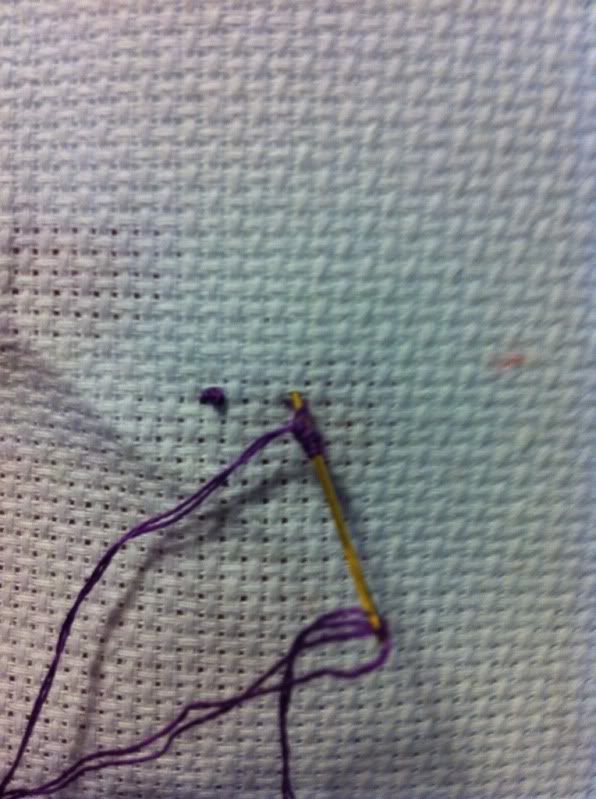
Now the next step is to push the needle through to the other side. I tend to do this in the middle of a block to ensure the French knot takes! When you first push the needle into the fabric, ensure that you hold onto the thread tight. Not tight enough to snap it, but tight enough that it is held taught.
Now the picture above does not look taught but it was difficult to show on camera!
Now continue to hold the thread tight as you pull the thread through the fabric.
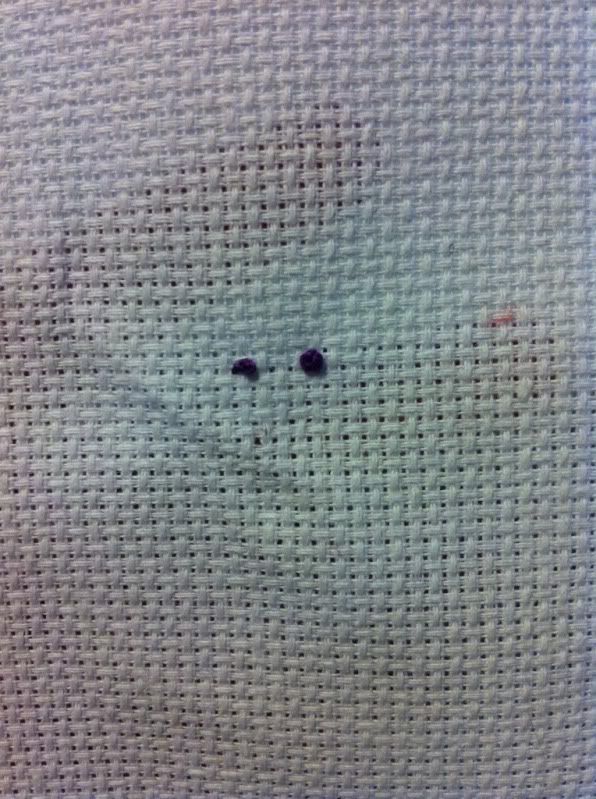
You should have a nicely formed French knot! The knot on the left was made with the thread wrapped around the needle three times and the one on the right with the thread wrapped around four times. Just to give you an idea of a change in size!
Hope this helps and turns your French knot nightmares into a dream!
Have a good day and stay stitchy!


No comments:
Post a Comment